
Scott Powell
LilyGo T-Watch S3 Plus
I’ve now added support for the T-Watch S3 Plus. This is a feature packed programmable watch from LilyGo, with integrated GPS, sx1262 LoRa radio, and 1.5” colour touch screen.
Download
You can download + flash in one easy step using this direct link to the MeshCore Flasher target.
UI Navigation
The watch has 3 physical buttons, one on left/top shoulder, one on right-top shoulder, and a power button along the right edge:

NOTE: the top-right shoulder button is the RESET button, which will reboot the device.
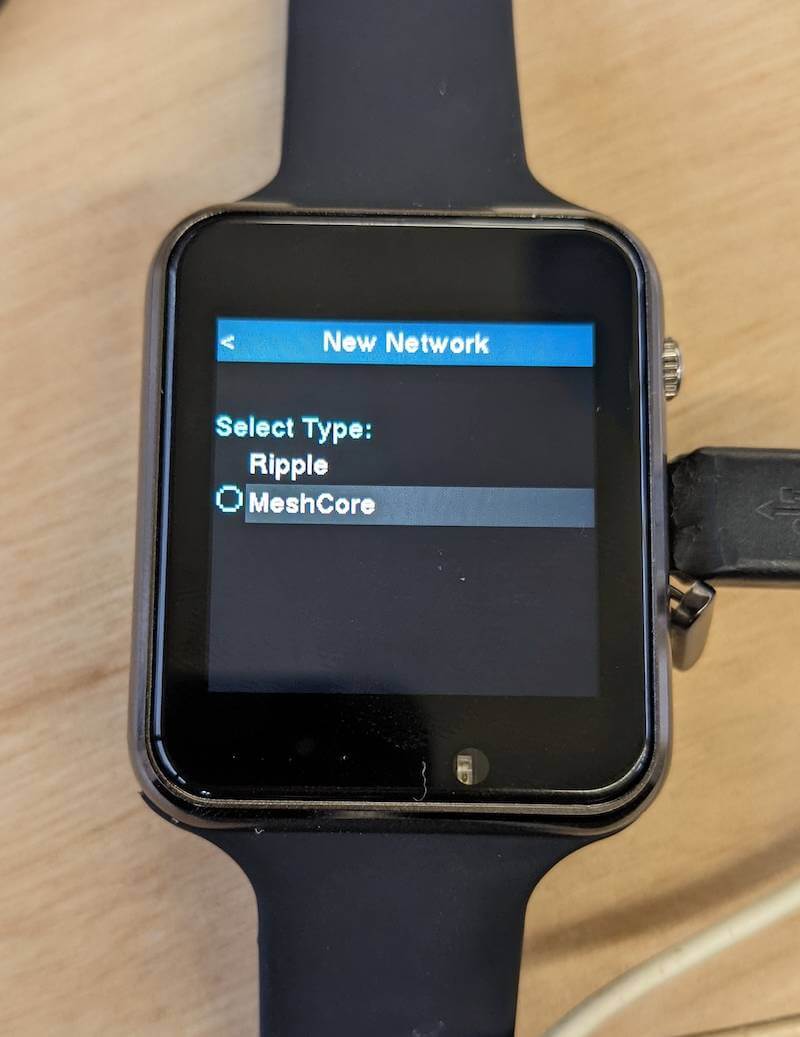
The UI navigation is cursor based, where you move the dark-gray selection up/down by tapping in the top and bottom areas of the screen, per the picture above. You then tap on the right side to select, and tap on the left side to navigate back to previous screen.
Some screens require ENTER key to submit/save/send, and this is done with a short press of the power key. A long press (approx 4 seconds) powers off the device.
Press the top-left shoulder button to turn the screen on/off.
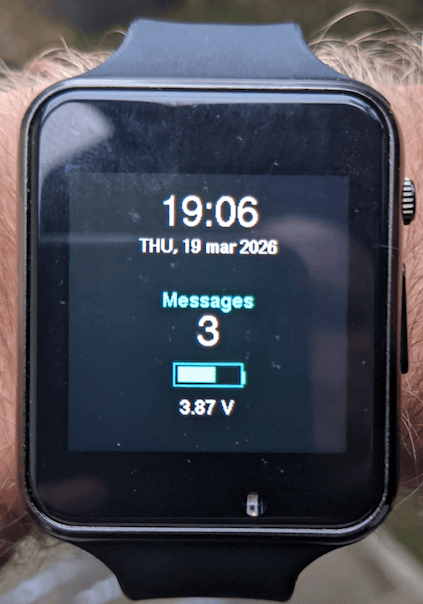
Watch Face/Lock Screen
The screen automatically turns off after inactivity, but there is a special lock screen which comes on when the device is in standby and when you tilt your wrist to look at the watch face:
General Guide
The T-Watch S3 has a UI which mostly like the other Ultra devices, like the T-Deck, so refer to the general user guide here for details.
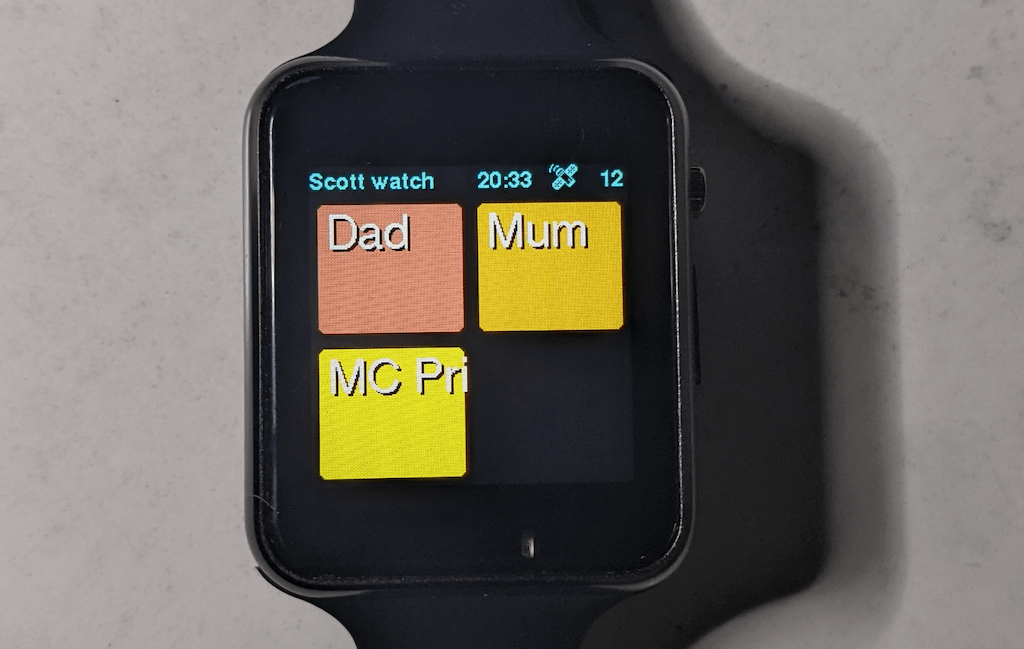
Kid Mode
The T-Watch makes for a great kid-tracker with the Ripple UI’s Kid Mode. The device can be locked down so that only kid-friendly contacts are shown and no contact from strangers is possible. See this article on how it works.
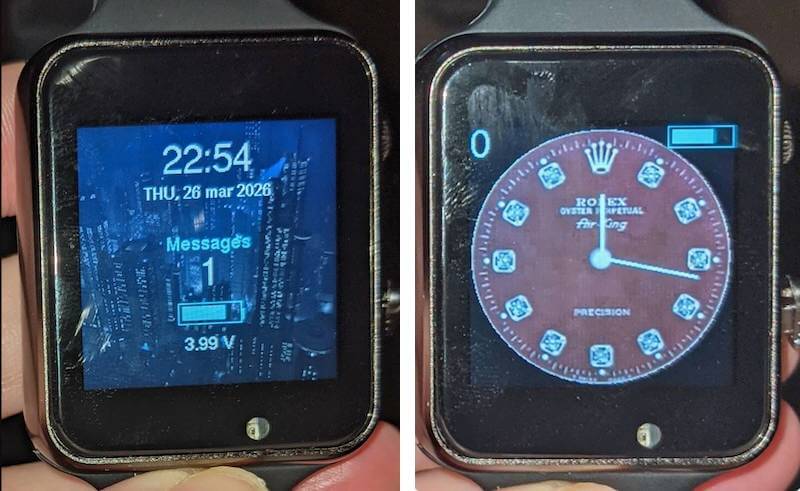
NEW: Custom Watchfaces
The 9.3 version of the firmware has some nice customisations for the watch-face/lock screen.
You can now set a Display preference of Digital or Analog. With both, you can upload a custom PNG background image! For the Analog option, you need to find an image without hands as the hour/minute hands are rendered on top of this background:
To customise the digital watchface background, just drop a 240x240 PNG file called default-face.png to root directory.
To customise the analog watchface background, just drop a 240x240 PNG file called analog-face.png to root directory.
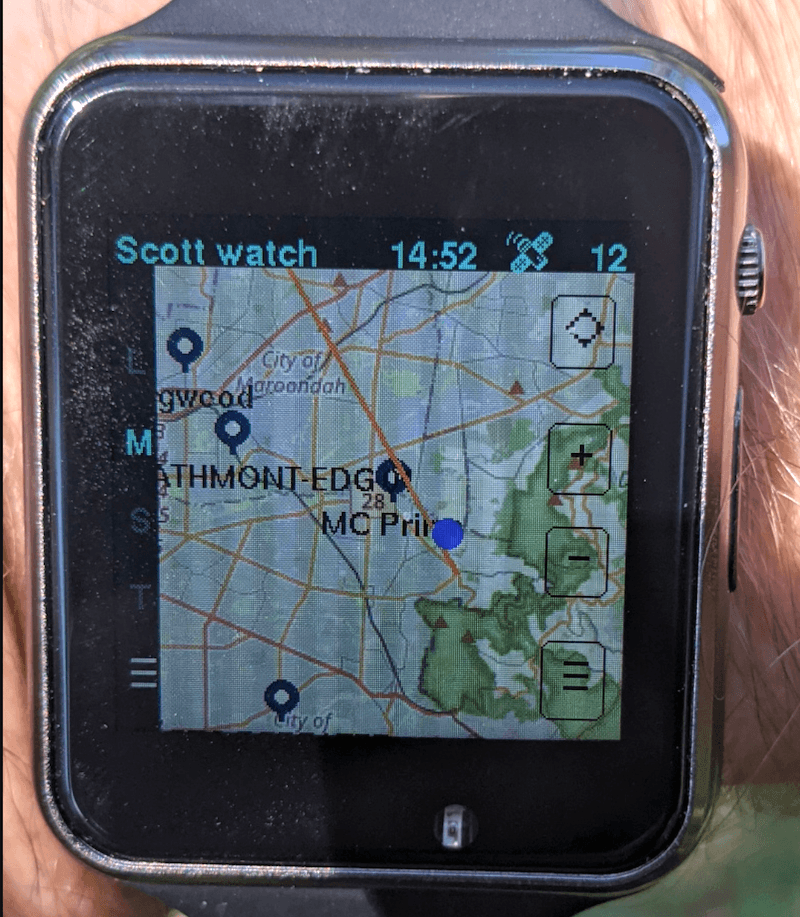
NEW: Maps
The v9.3 can now handle some map tiles, and rendered in the map view:
The ‘LittleFS’ Firmware
The v9.3 firmware now has two variants, the legacy one for those who just want to upgrade and not use the watchfaces or maps, and the “-LFS” variant.
The -LFS variant uses a different partition scheme, so if you flash this variant over the current one you will lose your settings. But, once you have this variant it will be safe to upgrade future versions without losing data.
This new variant, it carves out a LittleFS partition about 14Mb in size. So, you can drop map tiles up to about that size. This is fairly limited, but you should be able to drop some subset of your local geography for a few zoom levels.
Please see the FAQ about how to get map tiles.
Copying Files to LittleFS
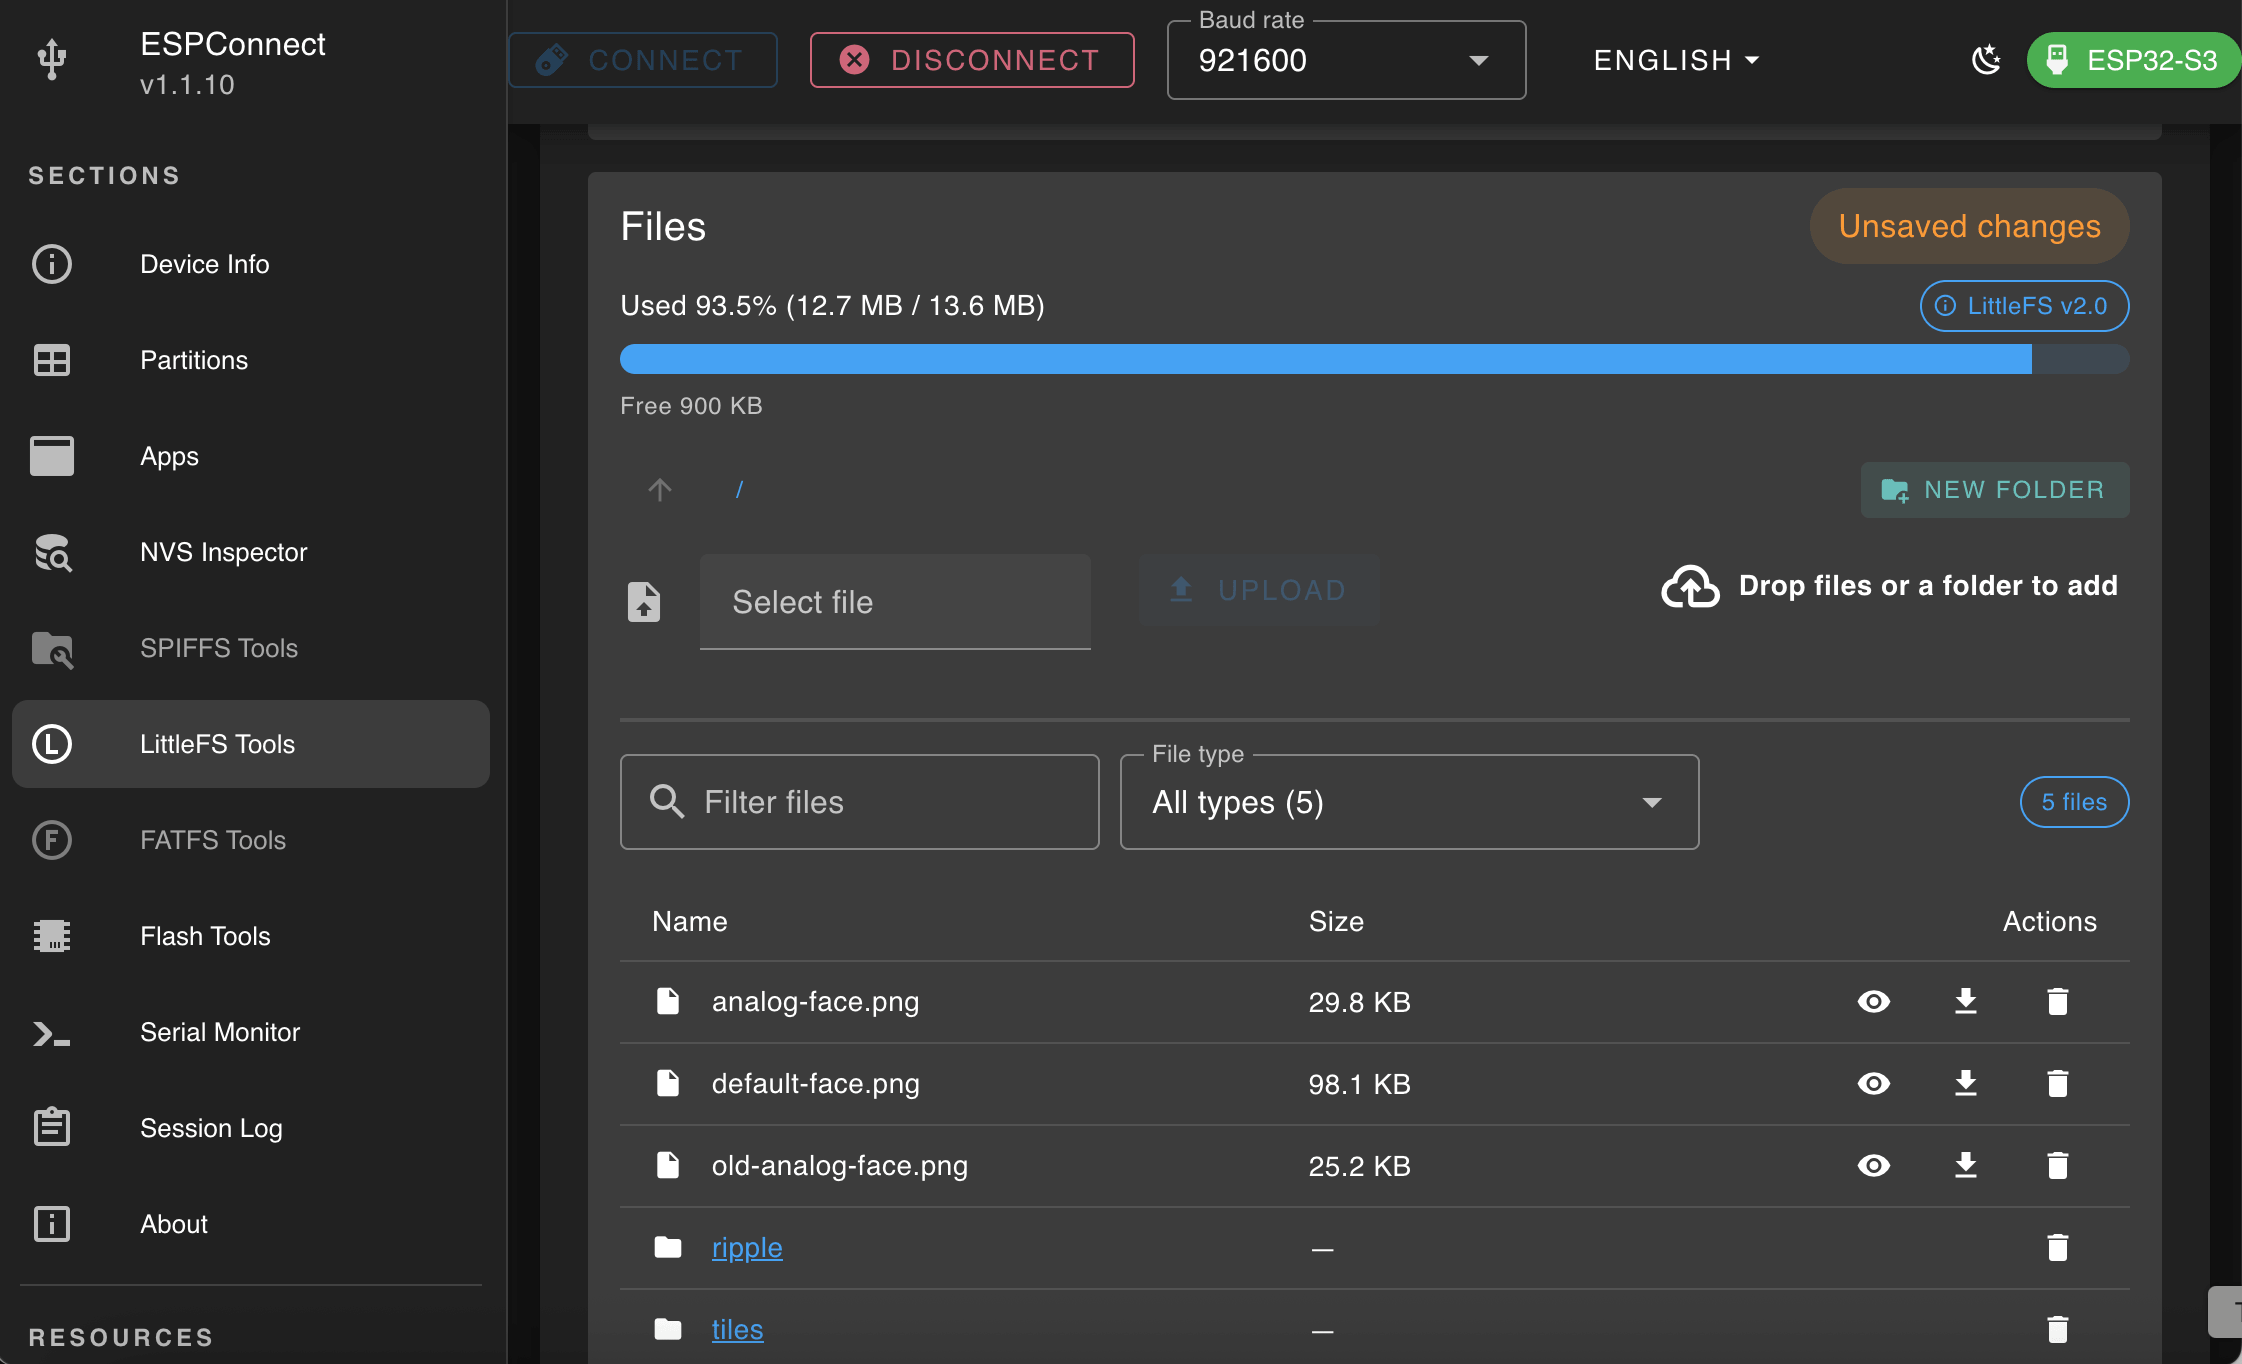
There is a handy online tool called ESPConnect which makes it easy to connect the T-Watch via USB to your computer, then add/modify/delete the files in the LittleFS partition.
Just click on the CONNECT button at the top, select the port for your USB connection, then click on the LittleFS Tools tab:
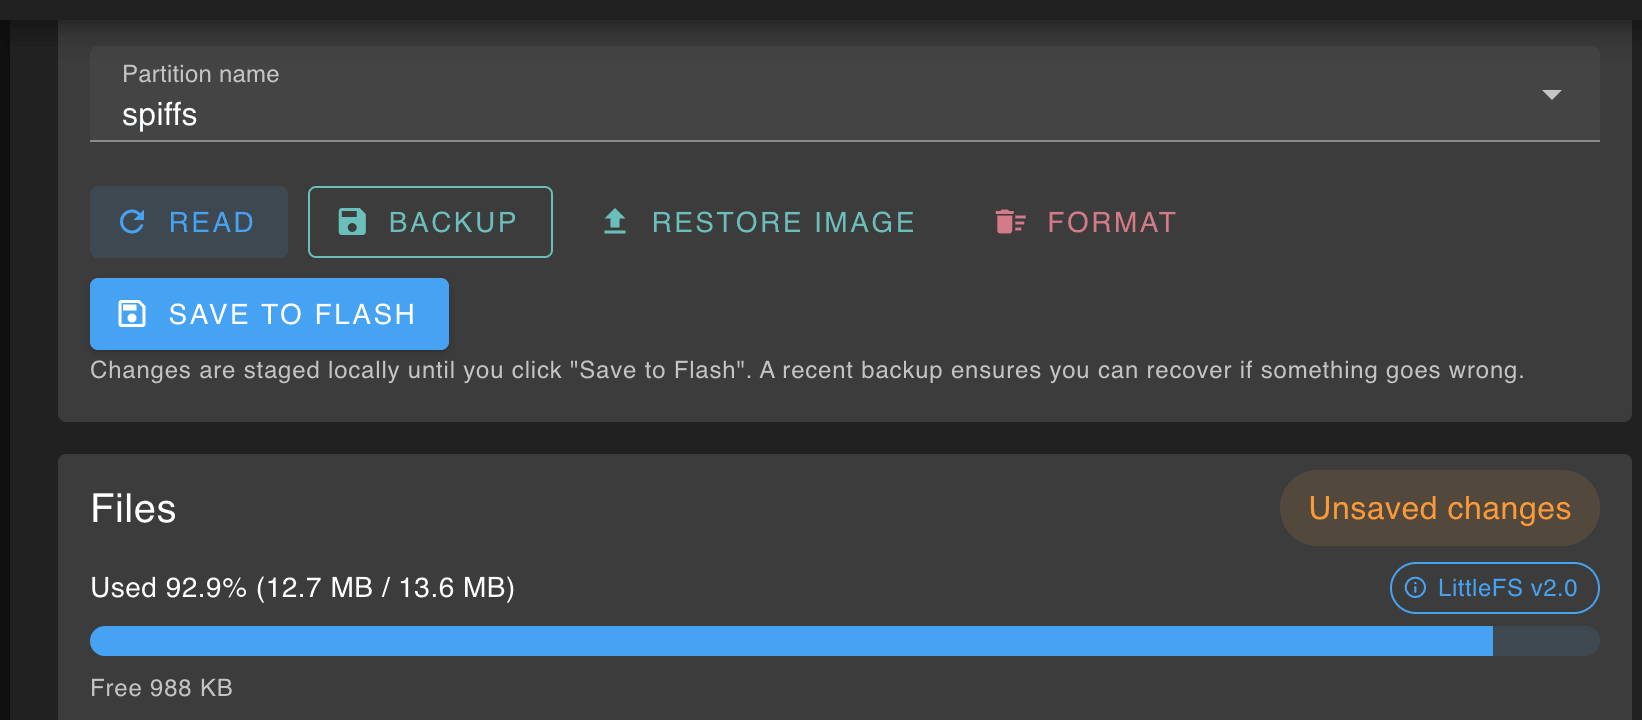
You’ll need to be patient while it does a full read of the partition, but once done, it will ask you to click BACKUP (which is very handy), that saves the entire partition to a .bin file.
If you look below, you should then see the various files/folders in the file system. Just drag-n-drop files, like ‘analog-face.png’ to add to the watch. You can also do this for the map tiles, just drag/drop the whole ‘tiles’ folder you have prepared on your computer. NOTE: you will see this warning if you’ve blown the size limit:

You should see the orange warning Unsaved changes after adding/removing files/folder, and once you have made all the changes need, just click the blue SAVE TO FLASH button:
Again, you’ll need to be patient as it writes the entire partition back to the watch. But, once it’s done just disconnect the watch, then press the Reset button on the top-right shoulder of the watch.